Start
5 Steps to set up your store
Move your store to SHOPLINE
Store Theme
Sell
Online Store
POS
Social Commerce
Checkout and Payments
Sell Worldwide
B2B
Market
CRM
Market across Channels
Chat
Email Marketing
Analytics
Manage
Shipping & Fulfillment
Order and Stock Management
Automations
App Store
Resources
Help Center
Blog
Pricing
USA
USA
UK (ENG)
Japan (日本語)
Australia (ENG)
Singapore (ENG)
China Mainland
Hong Kong SAR
Taiwan (繁體中文)
Malaysia (ENG)
Log in
Free Trial
Build a successful omni-channel business
Get your products in front of interested new customers and drive sales
Start free trial
Sell Online
Marketing
Conversion
Sell Online
SHOPLINE x TikTok Shop Integration: Your All-in-One Social Commerce Hub
January 23, 2024
Sell Online
Kickstart Your Social Commerce Efforts With SHOPLINE
December 12, 2023
Sell Online
Best SHOPLINE Theme for Furniture E-commerce Website
December 12, 2023
Sell Online
Theme Recommendation - Apparel Impression
December 12, 2023
Sell Online
How To Set Up A Checkout Page With A High Conversion Rate?
December 12, 2023
Sell Online
Smart Push and Web Push : Multi-Channel Communication Best Practices for E-Commerce Businesses
December 12, 2023
Sell Online
Online to Offline 101: How Can An Integrated O2O Strategy Help Your Business Scale
December 12, 2023
Sell Online
Your Guide to Managing Cross-Channel Customer Journeys
December 12, 2023
Next
Marketing
How to set a reasonable member system for a merchant store?
March 16, 2023
Marketing
Member Analytics:Multi-dimension data system drives the increase of business
March 16, 2023
Marketing
Member System Nudges Reaching customers accurately at key points to promote activity and conversion
March 16, 2023
Marketing
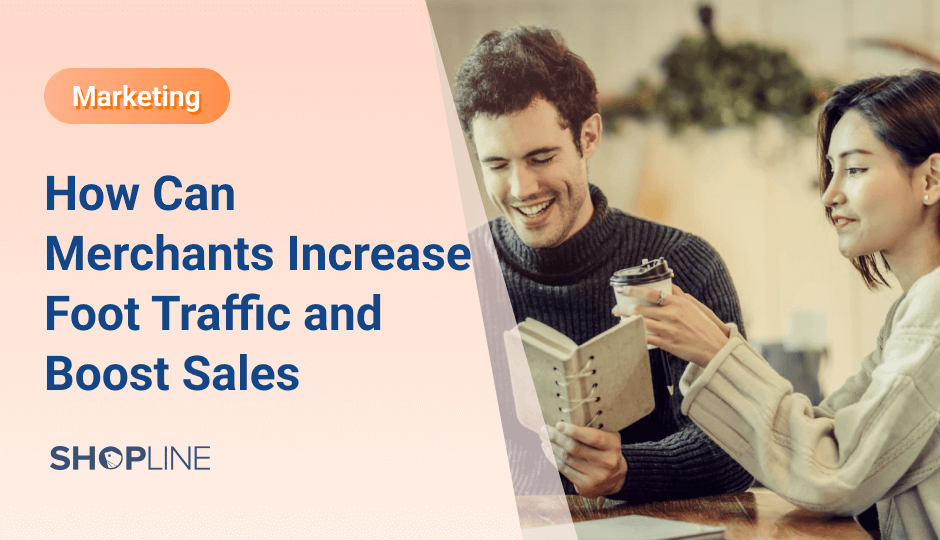
In-Store Retail Events: How Can Merchants Increase Foot Traffic and Boost Sales
January 13, 2023
Marketing
The YouTube Marketing Tips You Should Know!
December 16, 2022
Marketing
6 SHOPLINE Marketing Tools to Boost Your e-Commerce Sales
December 1, 2022
Marketing
Holiday Sales Season Field Guide: Optimising Your E-Commerce Retail Strategy for the Peak Sales Season
November 30, 2022
Marketing
Starting From Zero: 14 Days To Your First Online Sale
November 29, 2022
Next
Conversion
Low In-store Conversion and Low Repurchase - SHOPLINE Teams Up With Mailchimp to Help!
December 16, 2022
Conversion
Build Your Single-Page Website To Improve Conversion Rate and Boost in Revenue
December 1, 2022
Conversion
SHOPLINE Smart Ads System – 4 Major Functions to Bring Conversion & Traffic
November 30, 2022
Conversion
How To Track Customer Behavior? Experience First Dibs On SHOPLINE’s Integration With Facebook Conversions API!
November 30, 2022
Conversion
Email Marketing : How to Create Compelling Messages that Convert
November 30, 2022
Recommended
Marketing
Member Analytics:Multi-dimension data system drives the increase of business
Marketing
Member System Nudges Reaching customers accurately at key points to promote activity and conversion
Sell Online
Kickstart Your Social Commerce Efforts With SHOPLINE
Sell Online
Best SHOPLINE Theme for Furniture E-commerce Website
Marketing
In-Store Retail Events: How Can Merchants Increase Foot Traffic and Boost Sales
Over 600,000 merchants worldwide have used SHOPLINE
Start free trial
© Copyright 2013-24 SHOPLINE


.jpg)


.jpg)


.png)
.png)


